Mini album Class
Party Fiesta, it’s Mardi-Gras
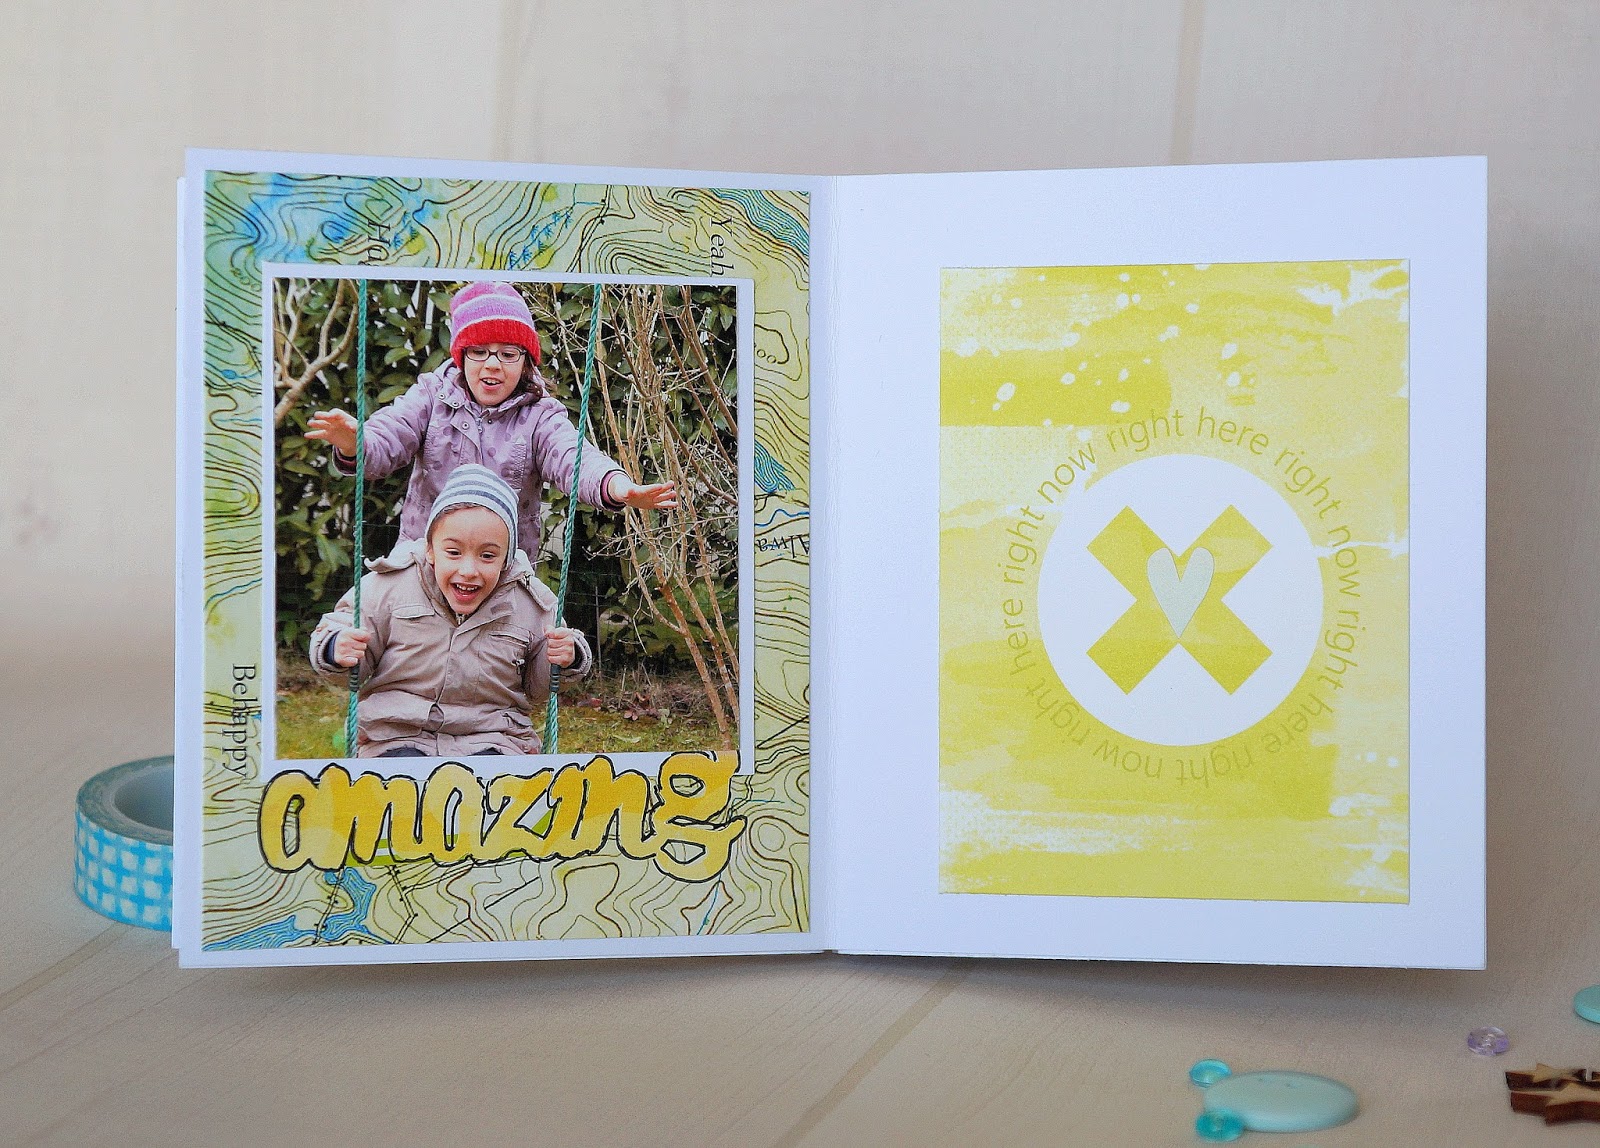
Hello guys
Today, I share with you a tutorial for realize a mini album.
I used Studio Tekturek products:
Blanket
Stories collection papers,
Small
letters alphabet (OH, ALPHASstic celadon, OH, ALPHASstic pumpkin),
Tags (OH,
LABELSstic’4)
Here is the project: pockets, tags
An then, the tutorial:
You will
need
Blanket
Stories collection papers, Studio Tekturek
Small
letters alphabet (OH, ALPHASstic celadon, OH, ALPHASstic pumpkin), Studio
Tekturek
Tags (OH,
LABELSstic’4) Studio Tekturek
Thick white
Bristol paper (300g/m²) 30.5x 30.5 cm
Big letters alphabets
Light
green, dark green and grey Cardstocks
Folding
tool
Hole
puncher to round the corners
Thin double
sided tape (0.5 cm)
White
thread and a needle
2 silver
eyelets
40 cm piece of rope
Embellishements ;
cut-offs, chipboard, masking tape, staples, colored buttons, pearls, dots
Rounded
corners picures
3 pictures 13.5
x 20 cm
5 pictures 9 x
10.5 cm
4 pictures 10.5 x
10.5 cm
Album structure
Cut 3
rectangles in white Bristol paper
1- 21 x 30.5 cm
2- 21 x 29.5 cm
3- 21 x 28.5 cm
Fold them
carefully
(Pictures 1 and
2)
Piece
number 1 (21 x 30.5 cm) at 14 – 2.5 – 14 cm
2- 14 – 1.5 – 14 cm
3- 14 – 0.5 – 14 cm
.JPG) |
| Picture 1 |
.JPG) |
| Picture 2 |
Cut 3 12.5
x 19.5 cm rectangles in white Bristol paper
Round the
corners
(Picture 3)
Cut 3 13.5 x 14 cm rectangles
Trace then
cut the diagonal at 13.5 and 3.5 cm (14 cm
being the width)
(Pictures 3
et 4)
.JPG) |
| Picture 3 |
 |
| Picture 4 |
You will
glue later the pieces with diagonals wherever you pleased in the album with 0.5
cm wide double sided tape
(Picture 5)
.JPG) | | | | | | |
| Picture 5 | | |
|
I strongly
suggest you decorate your pages before putting your album together.
Pages
decoration
I used
papers from the Blanket Stories collection as well as matching cardstocks
Rounded
corners pictures
3 pictures
13.5 x 20 cm
5 pictures 9 x
10.5 cm
4 pictures 10.5 x
10.5 cm
-
Full pages
Cut 4 20 x 13.3 cm rectangles in the Blanket
stories pattern paper
Round the
corners
(one will
be used to do the front cover)
Cut 2 20 x
13.3 cm rectangles in the cardstock
Round the
corners
(One will
be used to do the back cover)
On these
pages, I put cardstocks, paterned paper or pictures
I stacked
up various things (cut offs, chipboards ; masking tape, tags)
- Pockets
There are 3
pockets cut in diagonal.
For 2 of them,
I cut 2 pieces of Blanket Stories pattern
paper (Sizes 13 and 3 cm long for 13.5 cm wide)
Apply
embellishments
For the
last pocket I directly put the embellisments clusters on top of the white paper
- Cards in the pockets
They should
not be too thick, to be able to fit into the pockets
Take the
12.5 x 19.5 cm rectangles you already cut in the white Bristol paper
Cut 2
rectangles on patterned paper (11.8 x 18.2 cm)
Cut 2
rectangles on cardstock (11.8 x 18.2 cm)
Round the
corners up
Decorates
the pictures with paper leftovers (pattern or not)
Add
embellishements (but not too thick)
I put tabs
on each card (on top or on the side)
Back of
the album
You just
have to sew the 3 double pages.
Punch a
hole at 7 cm from the edge of the page (top and bottom) and sew the 3 double
pages together
Make sure
you are sewing tightly to prevent the pages from being loose.
Glue a (1.8
x 20 cm) strip of pattern paper on the back of the album to hide the thread and
knots. Use the same color of the cover if possible
Put eyelets
on both covers (1.5 cm from the side edge and 10.5cm from the top edge)
Put the
rope to close the album
Put
everything together
And that’s
it !!!
|
|


.JPG)
.JPG)
.JPG)
.JPG)
.JPG)
.JPG)
.JPG)
.JPG)